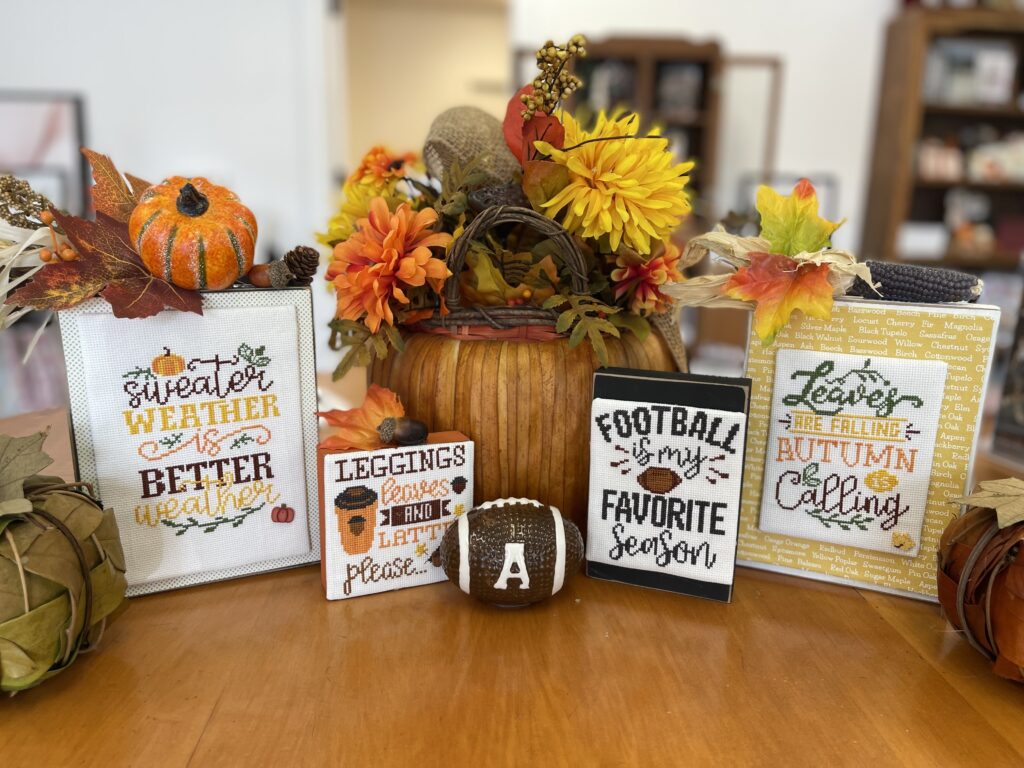
September QuickStitch Simple Smalls™ Leaves Are Falling Tutorial
 Hi there! Thanks for stopping by! When my daughter and I started to design cross stitch charts we decided to create some QuickStitch Simple Smalls™ each month to help you not only quickly stitch a new design, but to help you Make Finishing Fun™ by providing you with quick and easy ways to finish your cross stitch pieces. Finishing doesn’t have to be intimidating and our new BellaBoards™ and BellaBags™ will enable you to quickly finish your piece and proudly display it in your home or gift it to a friend!
Today I am going to share how to quickly finish your “Leaves Are Falling” cross stitch design using our new 6″ x 8″ Antique White Bella Board and the little Bella Bag™ you purchased at the time of check-out.
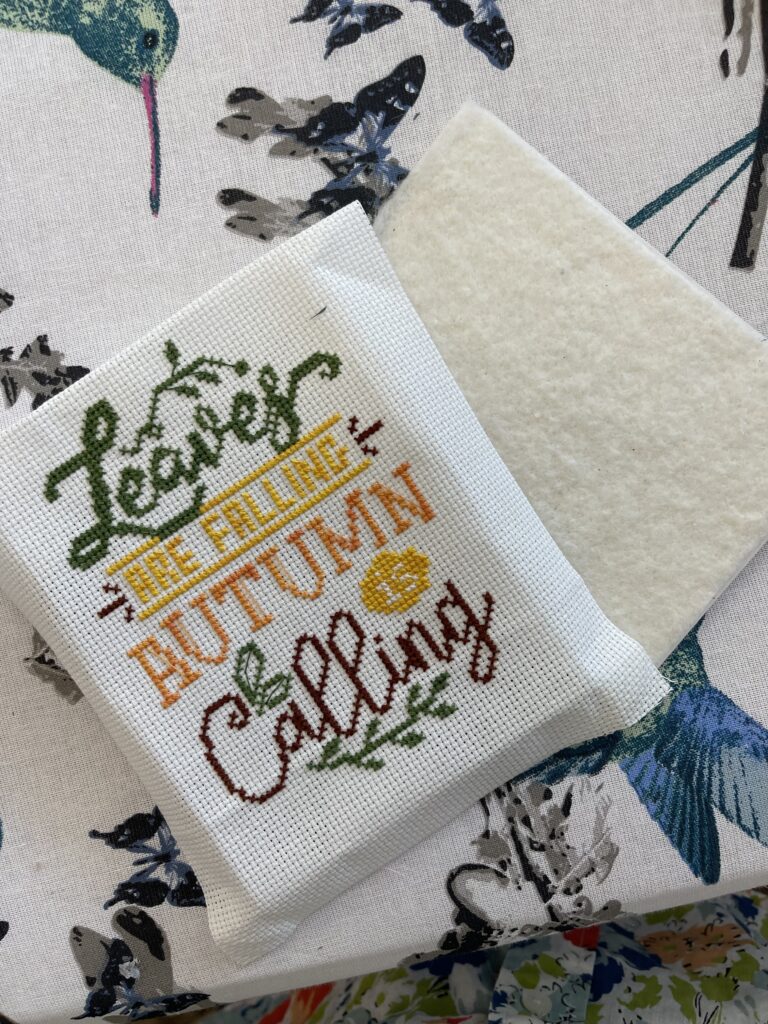
Whenever I finish a design, the first thing I do is iron it. This helps to set the stitches and removes any creases that come with using a hoop, Q-Snap or stitching-in-hand. Be careful not to set your temperature too high to avoid scorching your fabric.
You will notice that your BellaBoard has a farmhouse/vintage feel. Imperfections in the board are intended! I prefer to place my first layer of mounting board in such a way that the sanded edges on the BellaBoard still appear. Depending on the stitch count of the fabric you used, the size you cut your first mounting board will vary. Carefully measure your mounting board so that it will fit just inside those sanded edges.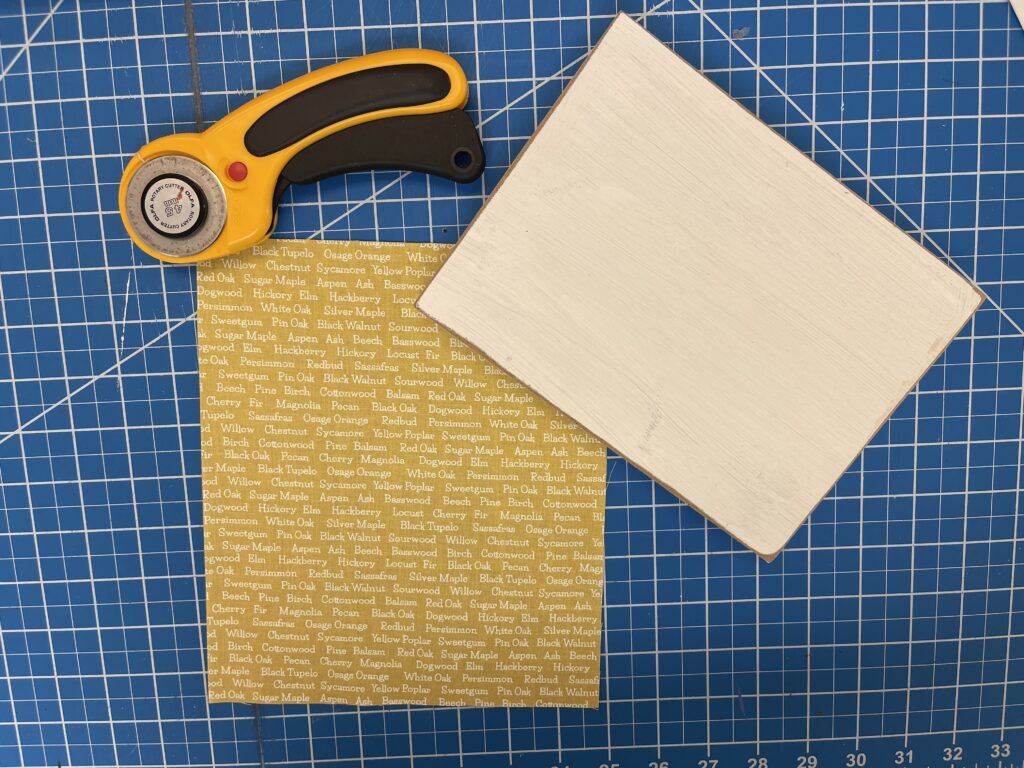
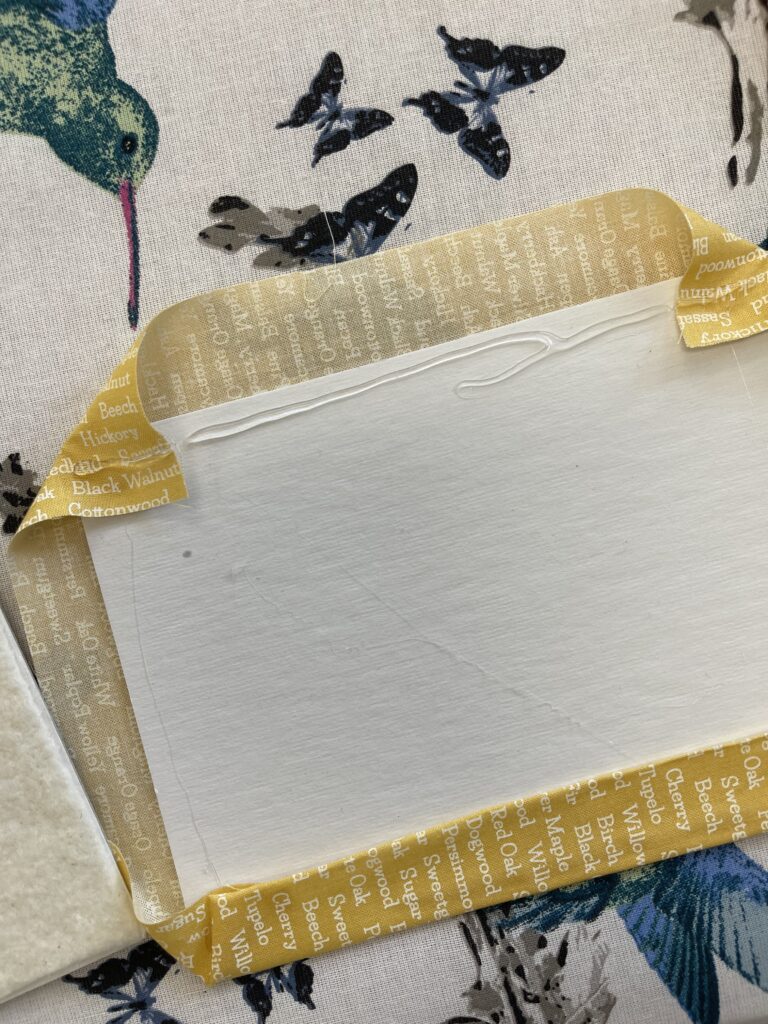
The next step it to use a hot glue gun or some Tacky Glue to carefully fold the edges of the finishing fabric you received in your BellaBag, over the mounting board and then secure with either the hot glue or the Tacky Glue.
The next step is to use a 5″ x 7″ mounting board to adhere your finished design. I like to use a thin layer of quilt batting between the mounting board and my finished piece. It’s super easy to do! Just cut a piece of the quilt batting the same size as the 5″ x 7″ mounting board. Use a rotary cutter to trim any over-lapping edges. Place your batting on the sticky-side of the mounting board and then place your finished piece on top. 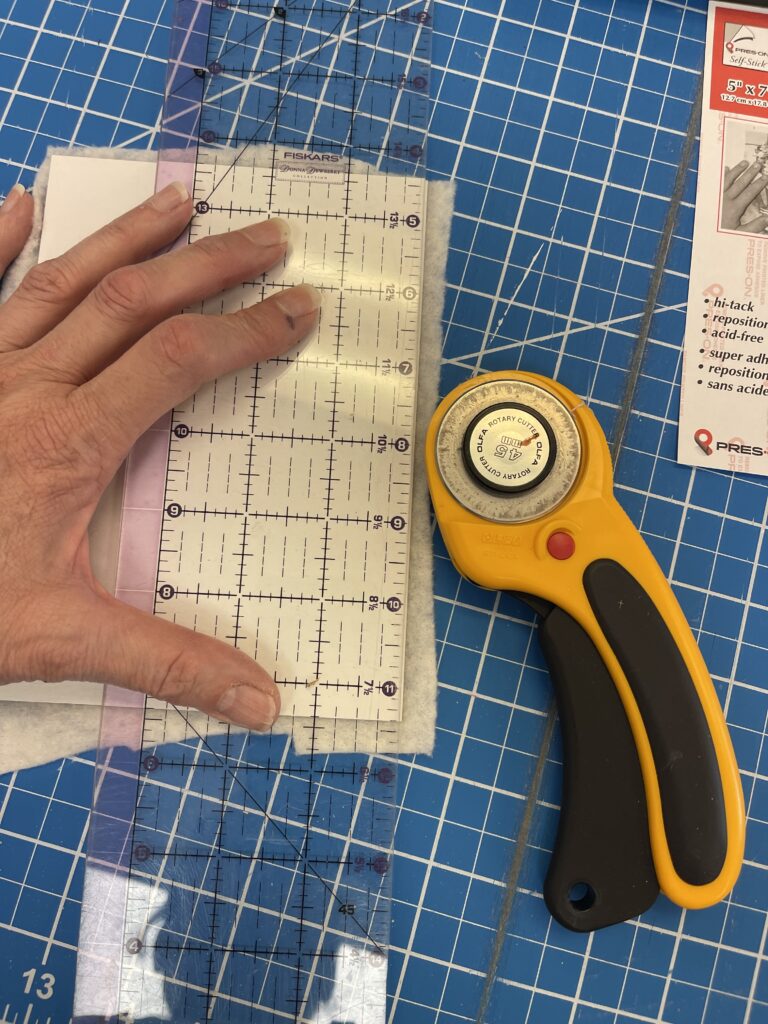
Use a hot glue gun or some Tacky Glue to carefully fold over the edges of your finished piece to the back of mounting board, and then secure with either the hot glue or the Tacky Glue.
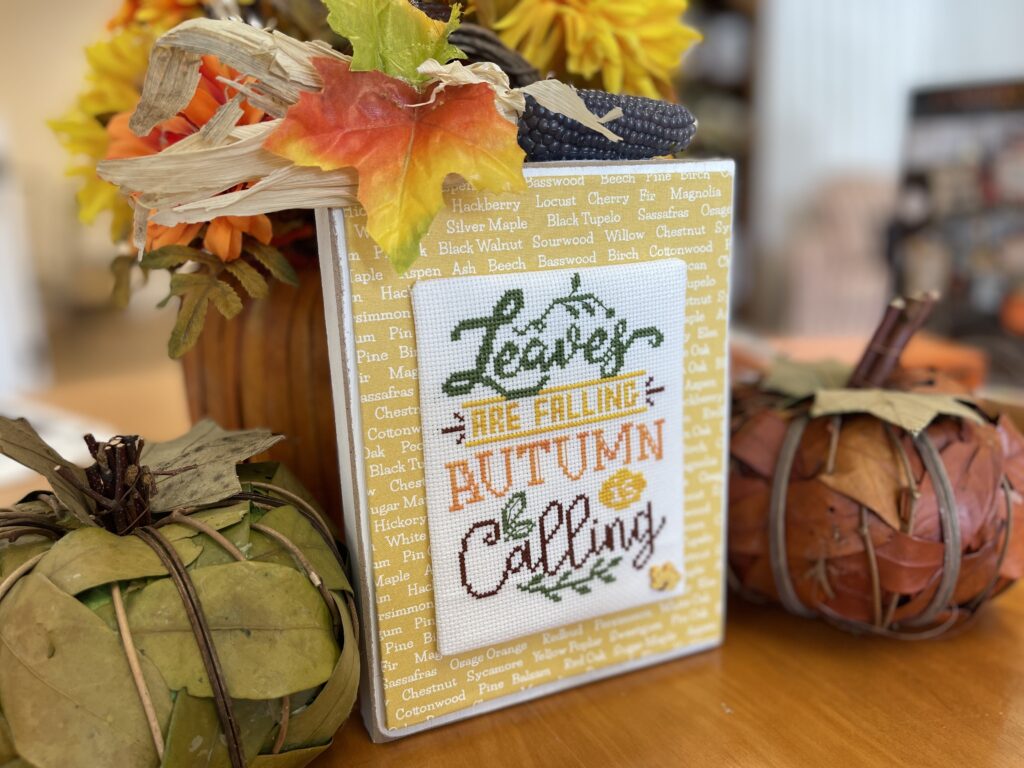
Next, add some hot glue or Tacky Glue to the back of the 5″ x 7″ design and adhere it to the center of your fabric covered mounting board. Now wasn’t that easy?
Next, we included a cute little maple leaf button in your BellaBag. Rather than sew it on, I used just a touch of hot glue and carefully placed it on my finished piece.
The top of your BellaBoard can be finished any way you’d like! Check your stash for any small items you can adhere to the 1″ top. I found this cute little ear of corn at Michaels and the fall leaves in my stash! Just use a hot glue gun to firmly secure whatever you’d like to the top. Make it your own and
Make Finishing Fun™!
Be sure to join our Facebook Group and use the hashtag #anabellasneedleart. If you are on Instagram, be sure to tag us @anabellas_shop
Until next time, Be Happy. Be Well. And Most of All, Be Kind!